First Steps
Creating Your First Auto Test
After installing FireFly locally, you’re ready to write your first test 🚀
Just follow these four easy steps:
1. Create a Folder for Your Test
Create a folder in:
backend/src/modules/auto_test/tests
You can organize it by service name, team, test group — anything that helps with structure.
Nested folders are fully supported.
Example:
backend/src/modules/auto_test/tests/examples/my_service/
2. Create a Python File
In the folder you just created, add an empty .py file.
You can name it however you like — just make sure it reflects the test’s purpose.
3. Add Minimal Test Code
Paste the following content:
from src.modules.auto_test.register import params, register
from src.modules.auto_test.test_abs import TestAbs

@register()  # Only classes with this decorator are recognized as test classes.
class MyFirstTest(TestAbs):  # All test classes must inherit from TestAbs.
    @params(
        [
            dict(iteration_name="First"),  # Iteration name is required and shown in the UI.
        ]
    )
    async def test_success(self):
        pass  # Method name should start or end with 'test' for clarity.
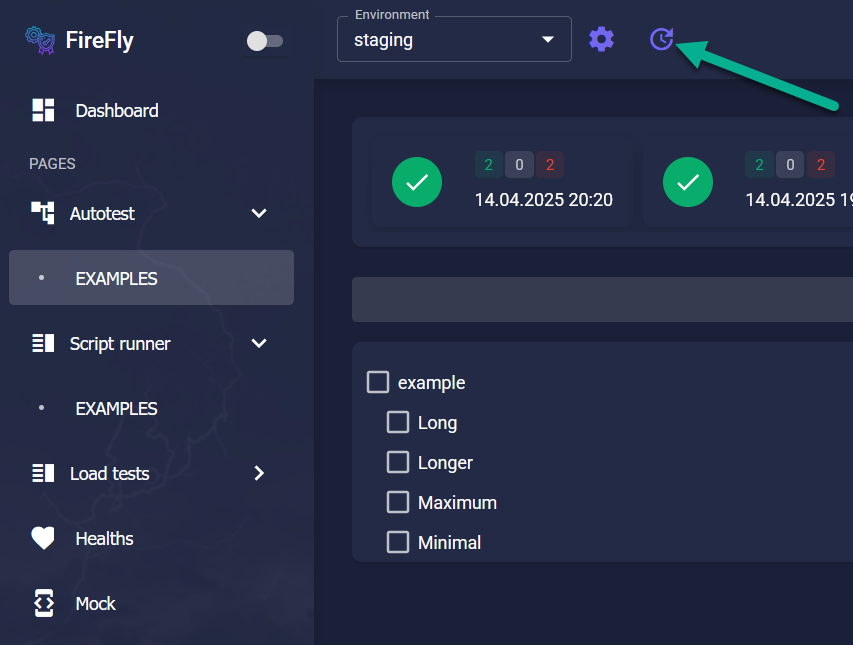
4. Refresh the Test Tree in FireFly
Open your browser and go to the Auto Tests page, for example:
http://localhost/auto/examples
Click the Refresh Test Tree button.
🔄 Hot Reload Mode
FireFly backend runs in Hot Reload mode while developing locally.
This means every time you save changes (e.g., Ctrl + S), the backend restarts automatically.
The reload may take from 1 to 20 seconds, depending on your system.
In the backend logs, you’ll see something like:
INFO: Shutting down
INFO: Waiting for application shutdown.
INFO: Application shutdown complete.
INFO: Finished server process
INFO: Started server process
INFO: Waiting for application startup.
INFO: Application startup complete.
💡 When Should You Press Refresh?
You only need to use the Refresh Test Tree button if:
New tests are added or removed
The path to a test (folders/files/classes) has changed
The test or iteration name has changed
In all other cases — like updating the logic inside a test — just save the file and wait a few seconds.
Then run the updated test directly.
✅ That’s It!
You’ve now created your first test.
It doesn’t do anything yet — but that’s up to you!
FireFly doesn’t limit your creativity: you can write any valid Python code in your tests.
Next, check out the section on writing feature-rich tests with better reports and tooling.
Creating Your First Script
Time to write your first script in FireFly 🚀
Once again, it’s just four easy steps:
1. Create a Folder for Your Script
Navigate to:
backend/src/modules/script_runner/scripts
Create a folder for your service, module, or team — nested folders are fully supported.
Example:
backend/src/modules/script_runner/scripts/examples/my_service/
2. Create a Python File
Add a new .py file in the folder you just created.
Again, name it in a way that reflects what the script is for.
3. Add Minimal Script Code
All you need is a regular async function decorated with @register:
from src.modules.script_runner.register import register

@register
async def my_new_script():
    pass
4. Refresh the Script List in FireFly
Open your browser and go to the Scripts page, for example:
http://localhost/script_runner/examples
Click the Refresh Scripts button.

🔄 Hot Reload Mode
Just like with autotests, FireFly restarts the backend service after every file save.
Wait a few seconds after saving before using the UI.
Only after the backend finishes reloading will the Refresh Scripts button update the list.
💡 When Should You Press Refresh?
Use the Refresh Scripts button only if:
New scripts are added or removed
The path to a script (folder or file name) has changed
The function name of the script has changed
In all other cases — for example, editing the body of a script — just save it and wait.
✅ That’s It!
Your first script is now registered and ready to run 🎉
It doesn’t do anything yet — but it’s fully operational.
FireFly gives you full freedom: any valid Python code is allowed in scripts.
To take your scripts further, check out the next section, where we explore advanced features and scripting utilities built into FireFly.